Description
Mk2 Scirocco European Headlight – Ball End Adjuster*
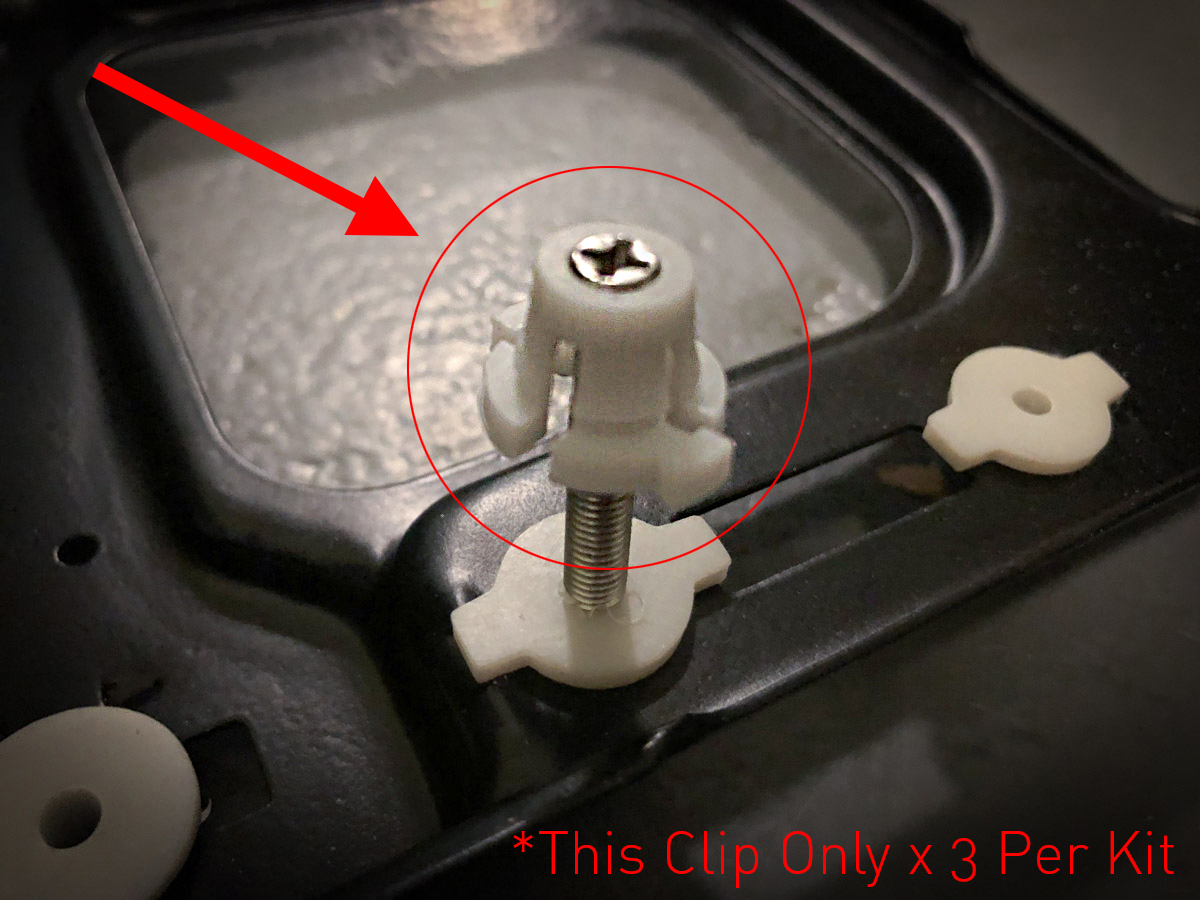
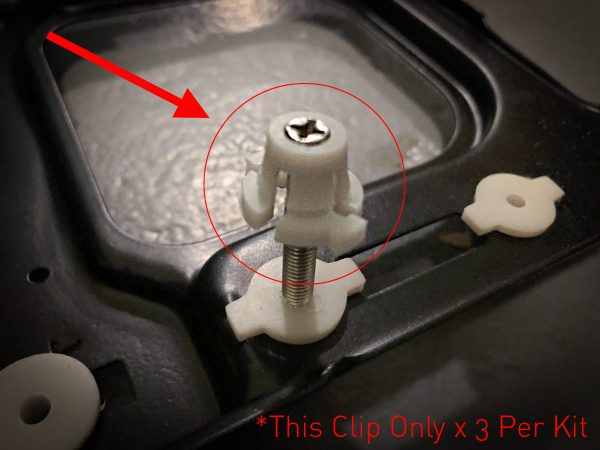
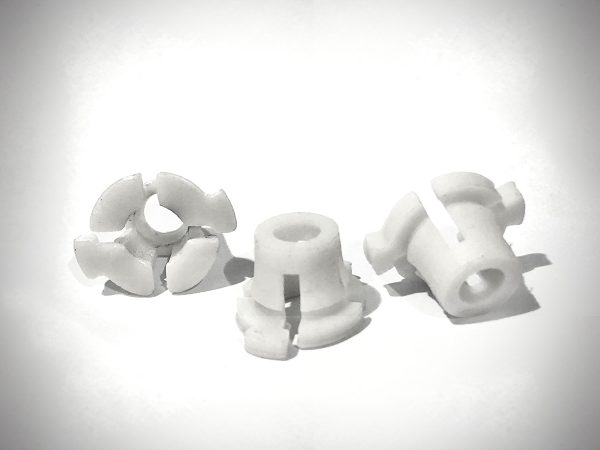 WRC’s Mk2 Scirocco European headlight adjuster kit replaces your broken clips with newly redesigned clips & mounts. Made in house at WRC North.
Firstly, we drew up extremely detailed CAD files of these clips. While doing so, we changed a few of the tolerances to make them easier to install, while retaining a nice tight fit. Furthermore, we updated the designs to be stronger and not break when installing them.
Secondly, the pivot ball clicks are exactly like the OEM clips with same rotation of the OEM ball end screws. However, these are not as brittle as the OEM units.
Most importantly, the low and high beam frame mounting clips are already tapped with threads. Moreover, these are ready to screw in your ball end screw adjusters bolts.
In conclusion, these are the perfect replacement for those hard to find European headlight adjusters. In other words, you can’t go wrong with these.
INSTALLATION (full clip):
- Start:
- Find a flat dry surface with room to spin the headlight housing.
- Put a microfiber or soft towel down on the flat surface.
- Place the headlamp face down on the towel.
- Make note of the location of each adjuster screw, pivot mounts, and approx adjustment.
- Remove the OEM mounting clips from the rear headlight bracket. (Pliers work well)
- Remove the OEM pivot clips from the back of the headlamp.
- Put a small amount of lithium or bearing grease on the ball end and wipe any excess off.
- Place the WRC Mk2 Scirocco European Headlight Adjuster clip open end up on a flat surface and insert the ball end. Press down carefully. You should feel it ‘pop’ into the socket.
- Screw the headlight mounting clips onto the threaded end. Make them all even close to where you noted the OEM clips during disassembly.
- Install the assembled WRC Mk2 Scirocco European Headlight Adjuster on the headlight mounting plate.
- Line up each hole to the ball end clip.
- Press each ball end clip into the headlamp mounting hole very slow. You will hear a click. Do not press any harder
- Continue with the other 5 until they are all installed.
NOTE: Ball End Clips:
When installing, you must insert the ball end screws into the WCR plastic clips prior to installing them into the headlamp bracket. If you try and install the clip first, then try and install the ball end, it will break.
| No. | Part Numbers | Placement & Type | Qty |
|---|---|---|---|
| #7 | 533 941 133 / 533941133 | Low Beam – Pivot / Joint | 1 |
| #8 | 533 941 141 / 533941141 | Low Beam – Adjuster | 2 |
| #7A | 533 941 133 A / 533941133A | High Beam- Pivot / Joint | 1 |
| #8A | 533 941 141 A / 533941141A | Hight Beam – Adjuster | 2 |
*Does not include headlights, headlight bracket, ball end pivots or adjuster screws.
*Some clips may be a different colors (Gray, black, or white) due to availability of materials. Most of our clips will be white or gray, but they will all be the same color.


